
How to Install WordPress Step by Step (2026 Beginner’s Guide) Meta
How to Install WordPress Step by Step: A No-Nonsense Guide for Beginners
The first time I tried to install WordPress, I made it way harder than it needed to be. I downloaded a zip file, got lost in FTP settings, and spent an entire Saturday afternoon staring at a blank white screen wondering what I’d done wrong. If you’ve ever felt that same low-grade panic before starting a website, you’re not alone — and you’re about to have a much easier time than I did.
Learning how to install WordPress is one of those tasks that sounds intimidating until you actually do it. In reality, it’s closer to setting up a new phone than writing code. This guide walks through every method available in 2026, explains which one fits your situation, and flags the mistakes that trip up most beginners.
Why WordPress Is Still the Default Choice
Before getting into installation, it’s worth understanding why WordPress remains the platform most people land on. According to W3Techs, WordPress powers over 43% of all websites on the internet — a market share no other content management system comes close to matching.
That dominance isn’t an accident. WordPress is:
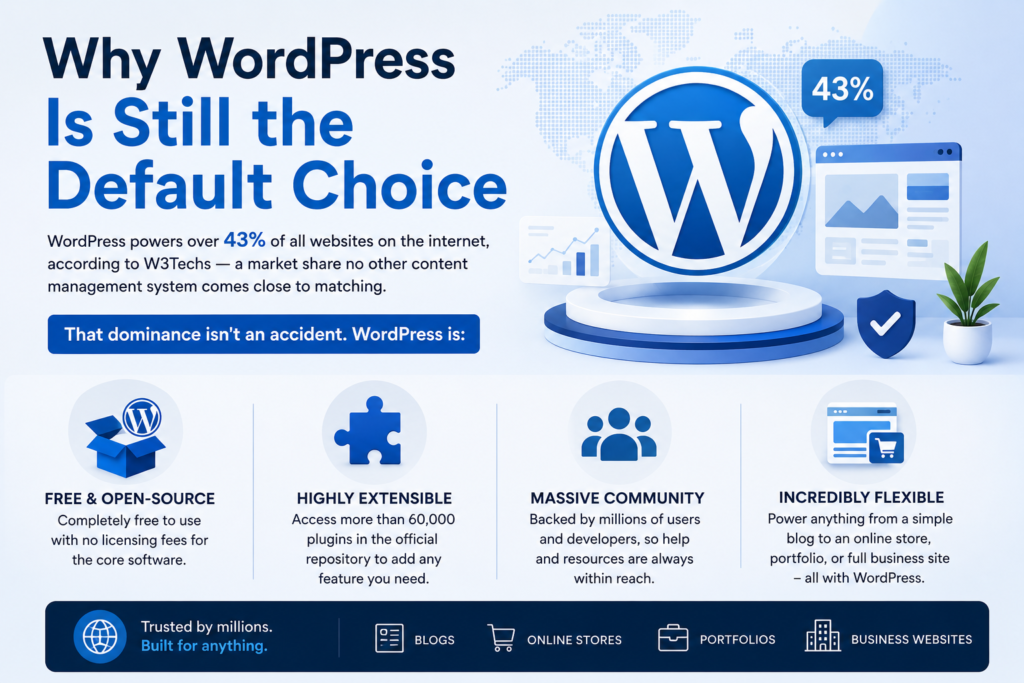
- Free and open-source, with no licensing fees for the core software
- Highly extensible through more than 60,000 plugins in the official repository
- Backed by a massive community, so troubleshooting help is rarely more than a search away
- Flexible enough to run a blog, an online store, a portfolio, or a full business site
None of that matters, though, if the installation process scares you off before you get started. So let’s fix that.
- Two Paths: WordPress.com vs. WordPress.org
This is the fork in the road that confuses almost everyone at first, and it’s worth pausing on before touching any installation steps.
| Feature | WordPress.com | WordPress.org (self-hosted) |
| Cost | Free plan available, paid tiers for more control | Software is free, but you pay for hosting |
| Custom plugins/themes | Limited on free/lower plans | Unlimited |
| Ownership of site | Hosted by Automattic, some restrictions apply | Full ownership and control |
| Monetization | Restricted on free plan | Unrestricted |
| Best for | Hobby blogs, quick starts | Businesses, serious bloggers, e-commerce |
This guide focuses on WordPress.org, the self-hosted, fully customizable version — because that’s the one people actually mean when they ask how to install WordPress for a real project.
What You’ll Need Before You Start
I recommend these 3 items be handled before moving any further to avoid needing to come back part-way:
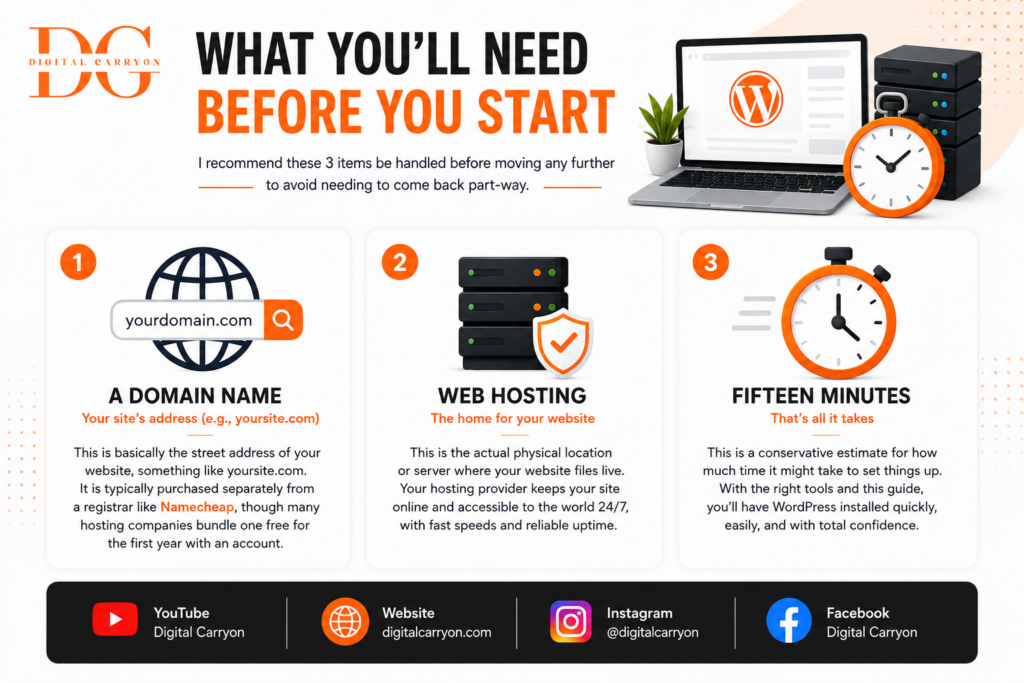
A domain name — your site’s address (e.g., yoursite.com), purchased through a registrar like Namecheap or bundled with hosting / This is basically the street address of your website, something like yoursite.com. It is typically purchased separately from a registrar, though many hosting companies bundle one free for the first year with an account.
- Web hosting: — This is the actual physical location or server where your website files live.
- Fifteen minutes— This is a conservative estimate for how much time it might take to set things up. Here’s how to install WordPress, the easy way: Method
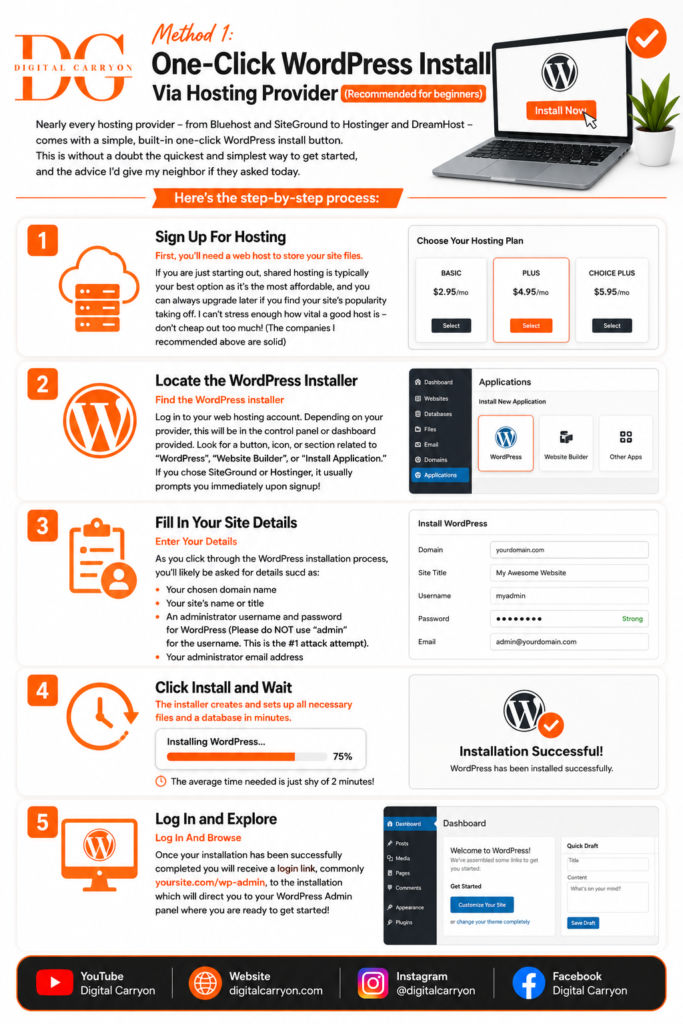
Method 1: One-Click WordPress Install Via Hosting Provider(Recommended for beginners)
Nearly every hosting provider – from Bluehost and SiteGround to Hostinger and DreamHost – comes with a simple, built-in one-click WordPress install button. This is without a doubt the quickest and simplest way to get started, and the advice I’d give my neighbor if they asked today
Here’s the step-by-step process:1.
Sign Up For Hosting First, you’ll need a web host to store your site files.
If you are just starting out, shared hosting is typically your best option as it’s the most affordable, and you can always upgrade later if you find your site’s popularity taking off. I can’t stress enough how vital a good host is – don’t cheap out too much! (The companies I recommended above are solid)
process:2. Locate the WordPress Installer
Find the WordPress installer Log in to your web hosting account. Depending on your provider, this will be in the control panel or dashboard provided. Look for a button, icon, or section related to “WordPress”, “Website Builder”, or “Install Application.”
If you chose SiteGround or Hostinger, it usually prompts you immediately upon signup!
process:3. Fill In Your Site Details
Enter Your Details As you click through the WordPress installation process, you’ll likely be asked for details such as: Your chosen domain name Your site’s name or title An administrator username and password for WordPress (Please do NOT use “admin” for the username. This is the #1 attack attempt).
Your administrator email address:
process:4. Click Install and Wait
The installer creates and sets up all necessary files and a database in minutes. The average time needed is just shy of 2 minutes!
process:5. Log In and Explore
Log In And Browse Once your installation has been successfully completed you will receive a login link, commonly yoursite.com/wp-admin, to the installation which will direct you to your WordPress Admin panel where you are ready to get started!
Seriously, if your host has a 1-click installation available use it and stop the “can do” method, as there is absolutely no point in going through this unless you want to feel self-righteous.
Method 2: Manual Installation (The “Famous Five-Minute Install”)
If you host doesn’t provide a one-click installer, or you would like a higher level of customization, particularly on your VPS or dedicated server, your only choice is to use the “Famous Five Minute Install.” The good thing is it rarely takes much more than 5 minutes after you know how it’s done
Step 1: Download WordPress
Download WordPress Download the latest available WordPress installation package from WordPress.org. It comes in the form of a zip file containing coreWordPress files and directories.
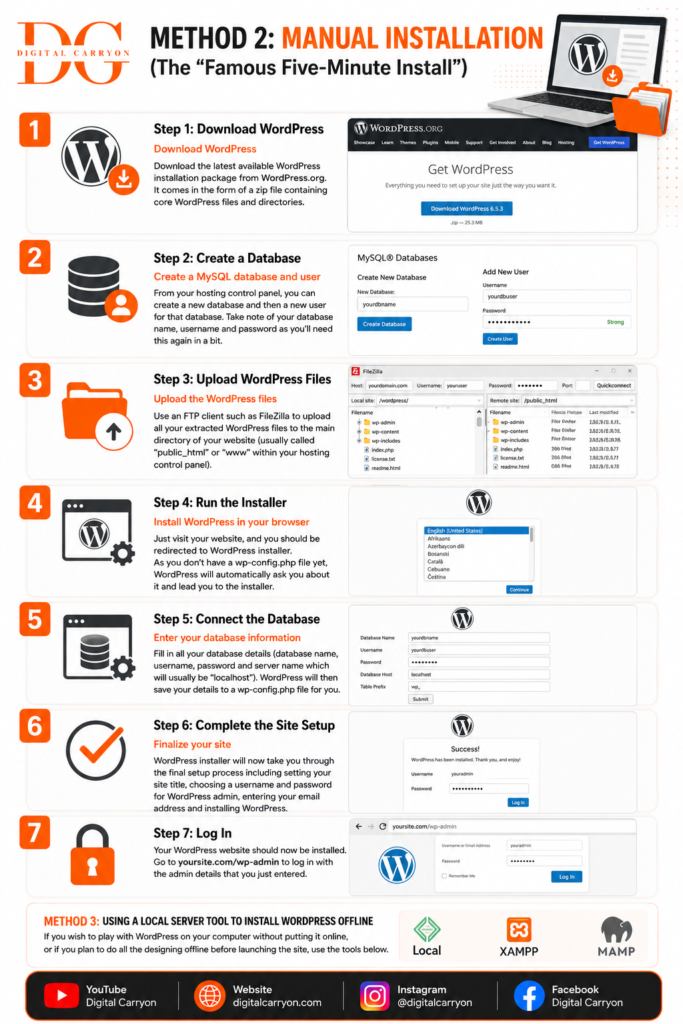
Step 2: Create a Database
create a MySQL database and user From your hosting control panel, you can create a new database and then a new user for that database. Take note of your database name, username and password as you’ll need this again in a bit.
Step 3: Upload WordPress Files
Upload the WordPress files Use an FTP client such as FileZilla to upload all your extracted WordPress files to the main directory of your website (usually called “public_html” or “www” within your hosting control panel).
Step 4: Run the Installer
Install WordPress in your browser Just visit your website, and you should be redirected to WordPress installer.
As you don’t have a wp-config.php file yet, WordPress will automatically ask you about it and lead you to the installer.
Step 5: Connect the Database
Enter your database information Fill in all your database details (database name, username, password and server name which will usually be “localhost”). WordPress will then save your details to a wp-config.php file for you.
Step 6: Complete the Site Setup
Finalize your site WordPress installer will now take you through the final setup process including setting your site title, choosing a username and password for WordPress admin, entering your email address and installing WordPress.
Step 7: Log In
Your WordPress website should now be installed. Go to Digitalcarryon.com/wp-admin to log in with the admin details that you just entered. Method 3: Using a local server tool to install WordPress offline If you wish to play with WordPress on your computer without putting it online, or if you plan to do all the designing offline before launching the site, use the tools below.
These tools will simulate an actual server on your computer:
Method 3: Local Installation for Testing
Before buying a hosting package – or if you’re building offline prior to launch – install WordPress on your own machine. Some popular local installation options include Local by Flywheel or XAMPP. This approach is ideal for experimentation: When you’re undecided between various themes and plugins and want to keep your website half-finished off the web, this is invaluable.
I always perform testing of plugin updates offline on my own PC before applying them to a client site – it’s saved me from quite a few “site is down” catastrophes!
What to do post installation?
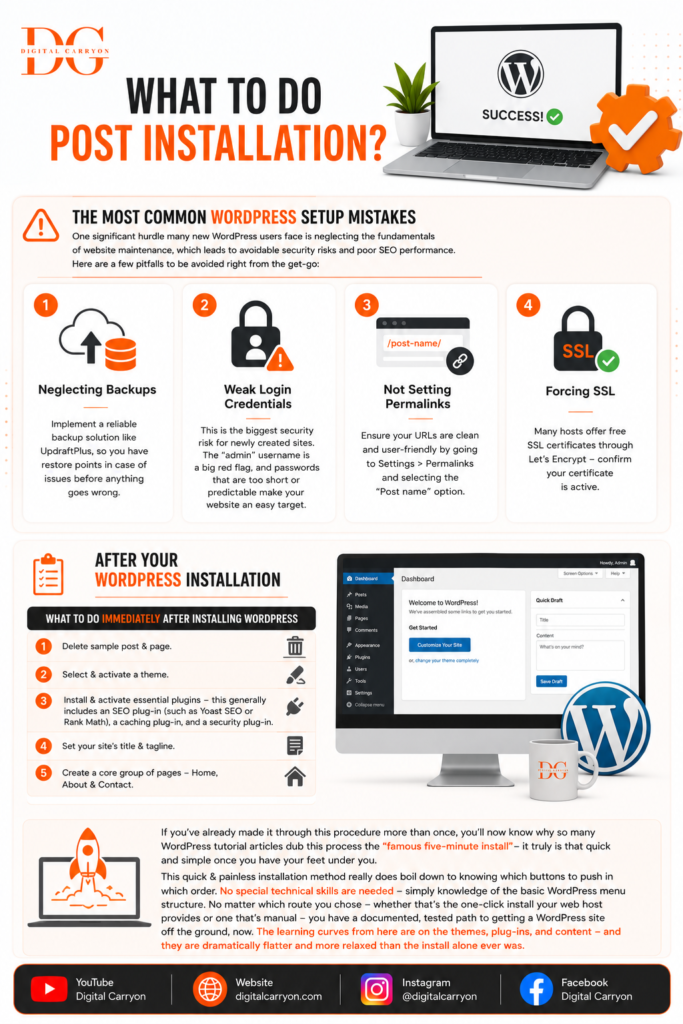
The Most Common WordPress Setup Mistakes One significant hurdle many new WordPress users face is neglecting the fundamentals of website maintenance, which leads to avoidable security risks and poor SEO performance. Here are a few pitfalls to be avoided right from the get-go: Neglecting Backups – Implement a reliable backup solution like UpdraftPlus, so you have restore points in case of issues before anything goes wrong. Weak Login Credentials – this is the biggest security risk for newly created sites.
The “admin” username is a big red flag, and passwords that are too short or predictable make your website an easy target.
Not Setting Permalinks – ensure your URLs are clean and user-friendly by going to Settings Permalinks and selecting the “Post name” option. Forcing SSL – many hosts offer free SSL certificatesthrough Let’sEncrypt – confirm your certificate is active. After Your WordPress Installation
What to Do Immediately After Installing WordPress
Once your install is live, a handful of quick steps set you up properly:
- Delete sample post & page.
- Select & activate a theme.
- Install & activate essential plugins – this generally includes an SEO plug-in (such as Yoast SEO or Rank Math), a caching plug-in, and a security plug-in
- Set your site’s title & tagline 5. Create a core group of pages Home.
About & contact If you’ve already made it through this procedure more than once, you’ll now know why so many WordPress tutorial articles dub this process the “famous five-minute install”-it truly is that quick and simple once you have your feet under you. - This quick & painless installation method really does boil down to knowin; which buttons to push in which order. No special technical skills are needed – simply knowledge of the basic WordPress menu structure. No matter which route you chose- whether that’s the one-click install your web host provides or one that’s manual-you have a documented, tested path to getting a WordPress site off the ground, now. The learning curves from here are on the themes, plug-ins, and content- and they are dramatically flatter and more relaxed than the install alone ever was.
What are you waitin’ for?
Choose a web host, set up your first WordPress install today and be sure to drop us a line in the comments section below if you encounter any bumps in the road!